
The short answer
For custom waterproof pannier bags, start with a measured rack and photographs of the intended installation. Identify attachment locations, support surfaces and the space needed around the loaded bag. Review heel clearance, opening access and removal separately. The useful output is a rack-fit record tied to the selected bag model and bicycle configuration, with unresolved fit points marked before sample approval. A matching-looking rack is not evidence of interchangeable fit.
Quote the bag against a rack configuration
Two bicycles can use similar-looking rear racks while presenting different attachment positions and clearance problems. A supplier seeing only a side photograph may not know the tube shape, where a support member sits behind the bag, or which fitting must remain accessible. For custom waterproof pannier bags, identify the rack configuration before comparing pocket layouts or logo options.
Start with the bicycle and rack actually intended for the programme. If customers will use several racks, list them as separate fit configurations rather than describing the bag as universal. Mark the configurations included in the initial sample review and those still requiring investigation. This makes the quotation useful without turning an unreviewed compatibility assumption into a selling claim.
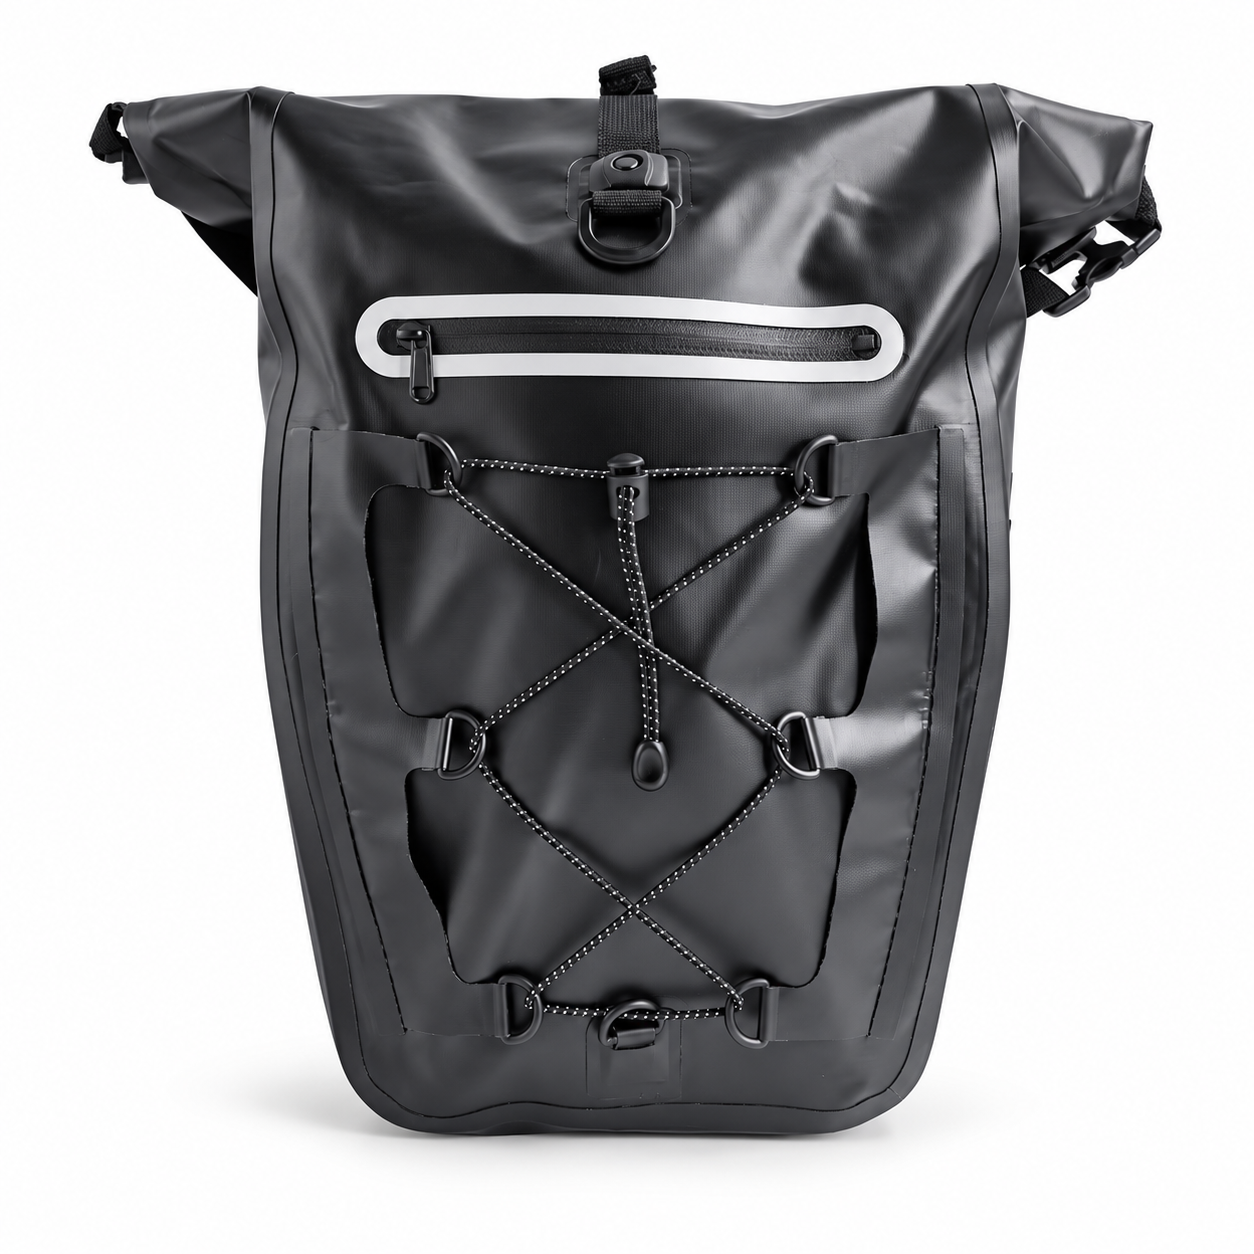
The waterproof bicycle bag collection provides starting formats. The PVC roll-top rack pannier is a product reference, while the installation record defines the rack and attachment arrangement for your order.
Record the attachment envelope and its obstructions
Ask for a clear measurement drawing alongside photographs. Include the rack's relevant tube profiles, spacing between supports and the areas available for the proposed fittings. Name the measurement endpoints so another person can reproduce them. A number labelled “rack width” is ambiguous if one person measures outside-to-outside and another measures between the tubes.
| Record | What to show | Why it matters |
|---|---|---|
| Attachment area | Tube profile, measured endpoints and proposed fitting locations | Lets the supplier review a specific fixing arrangement |
| Lower support | Supports behind the bag, their positions and usable contact areas | Shows where the loaded body can be supported |
| Obstructions | Light brackets, fasteners, braces and other occupied space | Prevents a fitting position being specified over an obstruction |
| Removal path | Space required to operate and release the selected attachment | Keeps installation and daily removal in the review |
Photograph the same rack from the side, rear and attachment side. Add a close view of any unusual joint. Keep scale references in the drawing rather than estimating dimensions from perspective photographs.
Check the loaded position, not only the empty silhouette
A soft pannier can change shape after packing. Define representative contents and place them consistently during review. Record the installed position of the loaded body, the lower edge and the opening. If a strap or attachment is adjusted, note the setting rather than treating every photograph as the same configuration.
Review rider heel space with the intended bicycle setup, as well as clearance around the wheel and other moving parts. Have the responsible bicycle or rack specialist assess the arrangement where necessary. This is a fit assessment of the selected assembly; a bag photograph cannot establish clearance across other bicycles. Also check whether the body interferes with an existing light, support or accessory mounting position.
Keep closure access and mounting access separate
A pannier can appear correctly positioned while leaving insufficient room to close its top or release a fitting. Test the intended packing arrangement, complete the selected closure sequence and then review access to the attachment controls. Record whether the bag is intended to be opened while mounted or removed first.
Use the roll-top commuter pannier reference to discuss the body format, not to assume a particular rack interface. Ask the supplier to identify the fitting supplied with the quotation, its adjustment range and any information needed from the rack manufacturer. Exterior storage, carrying straps and other loose components should also have an agreed position when the bag is installed.
Illustrative brief: a commuter range with two rack variants
A hypothetical bicycle retailer wants one branded pannier body for a commuter range using two rear-rack designs. The brief names both rack versions, attaches separate drawings and asks the supplier to propose the attachment configuration for each. It includes the same representative contents for both loaded reviews and photographs showing the expected bag position.
The sample record does not simply say “fits both.” It gives each rack its own review row: fitting identity, installed location, loaded clearance, closing access and removal operation. If the second rack needs a different component, the difference becomes a named configuration in the quotation and packing list. If fit remains unresolved, that variant remains open rather than inheriting approval from the first.
Hand over one installation record per approved configuration
Combine the drawing, rack identity, fitting specification, loaded photographs and review notes into a dated record. Identify the bag revision and the particular attachment parts shown. A useful photograph caption states the configuration and view, rather than only “sample approved.” Keep rejected positions visible in the change history so they are not inadvertently reused.
Before ordering, reconcile this record with the product description and supplied accessory list. If the programme includes different fittings, identify which pack receives each one. Follow the sample approval process for final acceptance, while keeping the rack-fit drawing as the model-specific attachment to that approval. Future changes to the rack, loaded body or fixing components should trigger a focused fit review.
Discuss the selected model and purchasing brief
Send the model references, quantity split and the decision record described in this guide. Add your artwork, packing requirements, destination and required delivery date.
Request a project quotationEmail michael@outdoorsbloom.com or denggaoz@gmail.com.